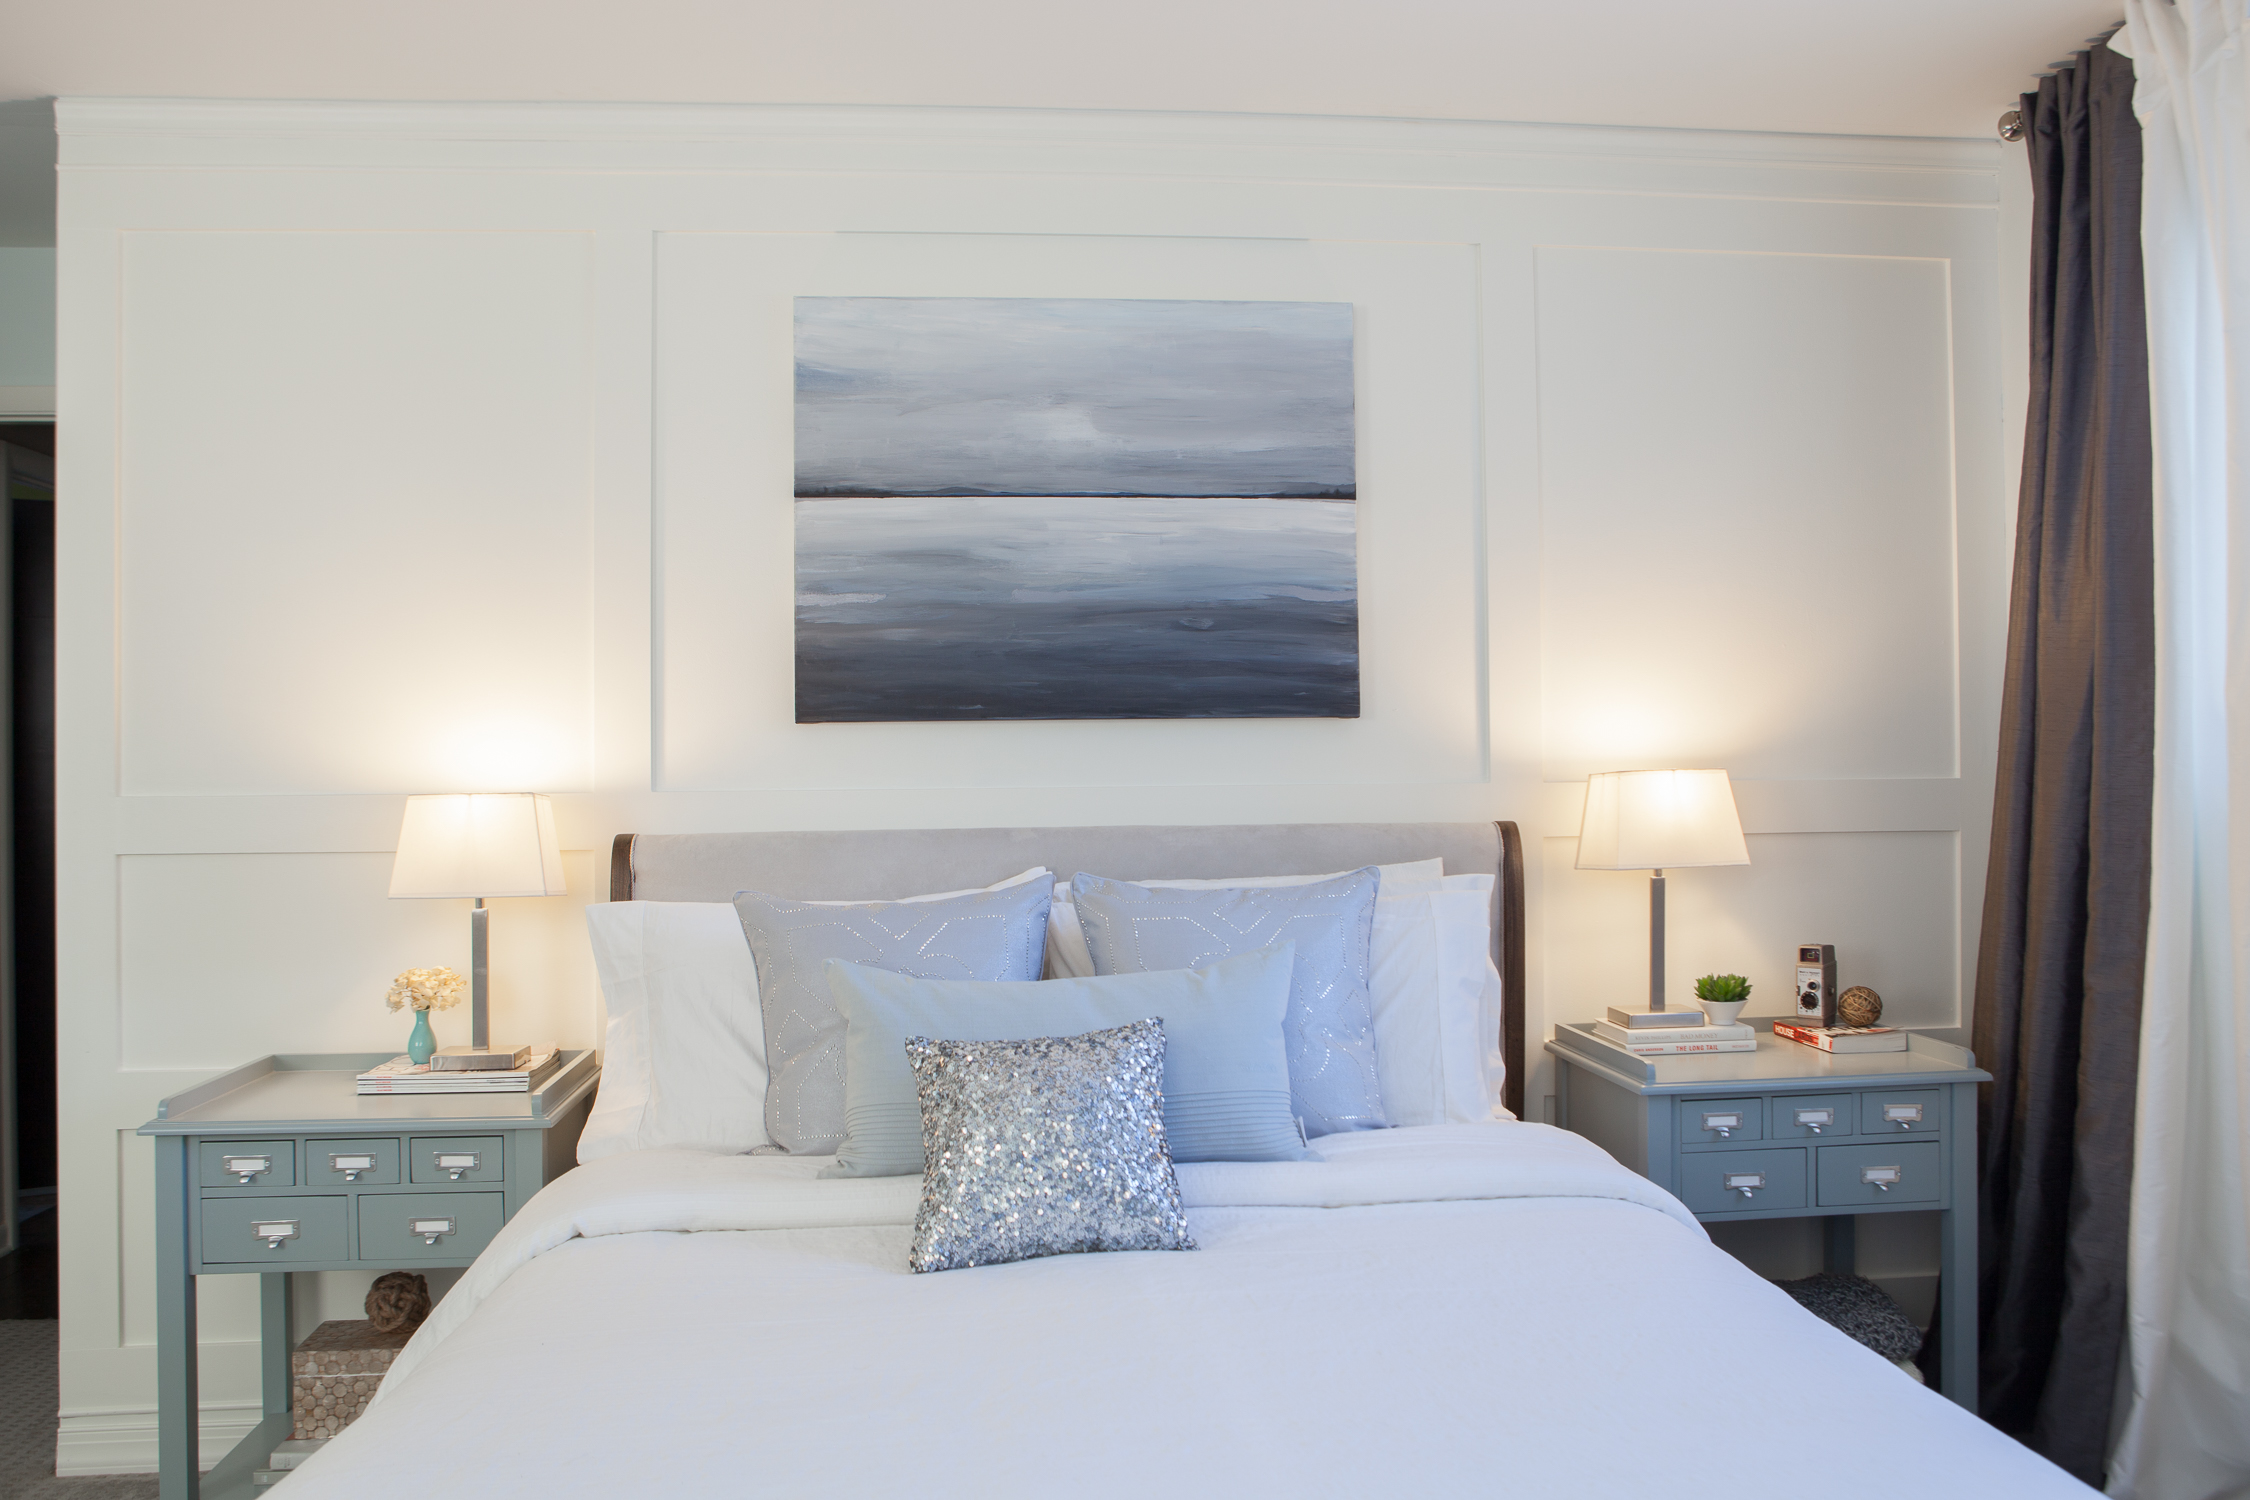
I love how one subtle feature wall in a master bedroom can make the entire space feel more upscale and high-end – especially when done on the headboard wall. I’ve known for a long time that I wanted to do a floor to ceiling wood paneled wall in our master bedroom. However, I wasn’t sure if I wanted it white to go with a light and airy theme, or dark gray to be more dramatic. A year after living in our house, we finally decided on bright and airy. (Note: This post contains affiliate links to the products we used and loved.)
The first step was to measure the wall and the furniture that was going to sit in front of it. Lucky for us, the layout of our room allowed us to center our bed on this wall so that our panels could be symmetrical. I sat in my office on a Saturday morning and played around with different layouts. I would sketch different sizes of panels and then draw the size of our furniture in front of them to see how they would look together. It definitely wasn’t a quick process or ‘by luck’ that they work so well together in the end result.
Here’s the final drawing of what we came up with.
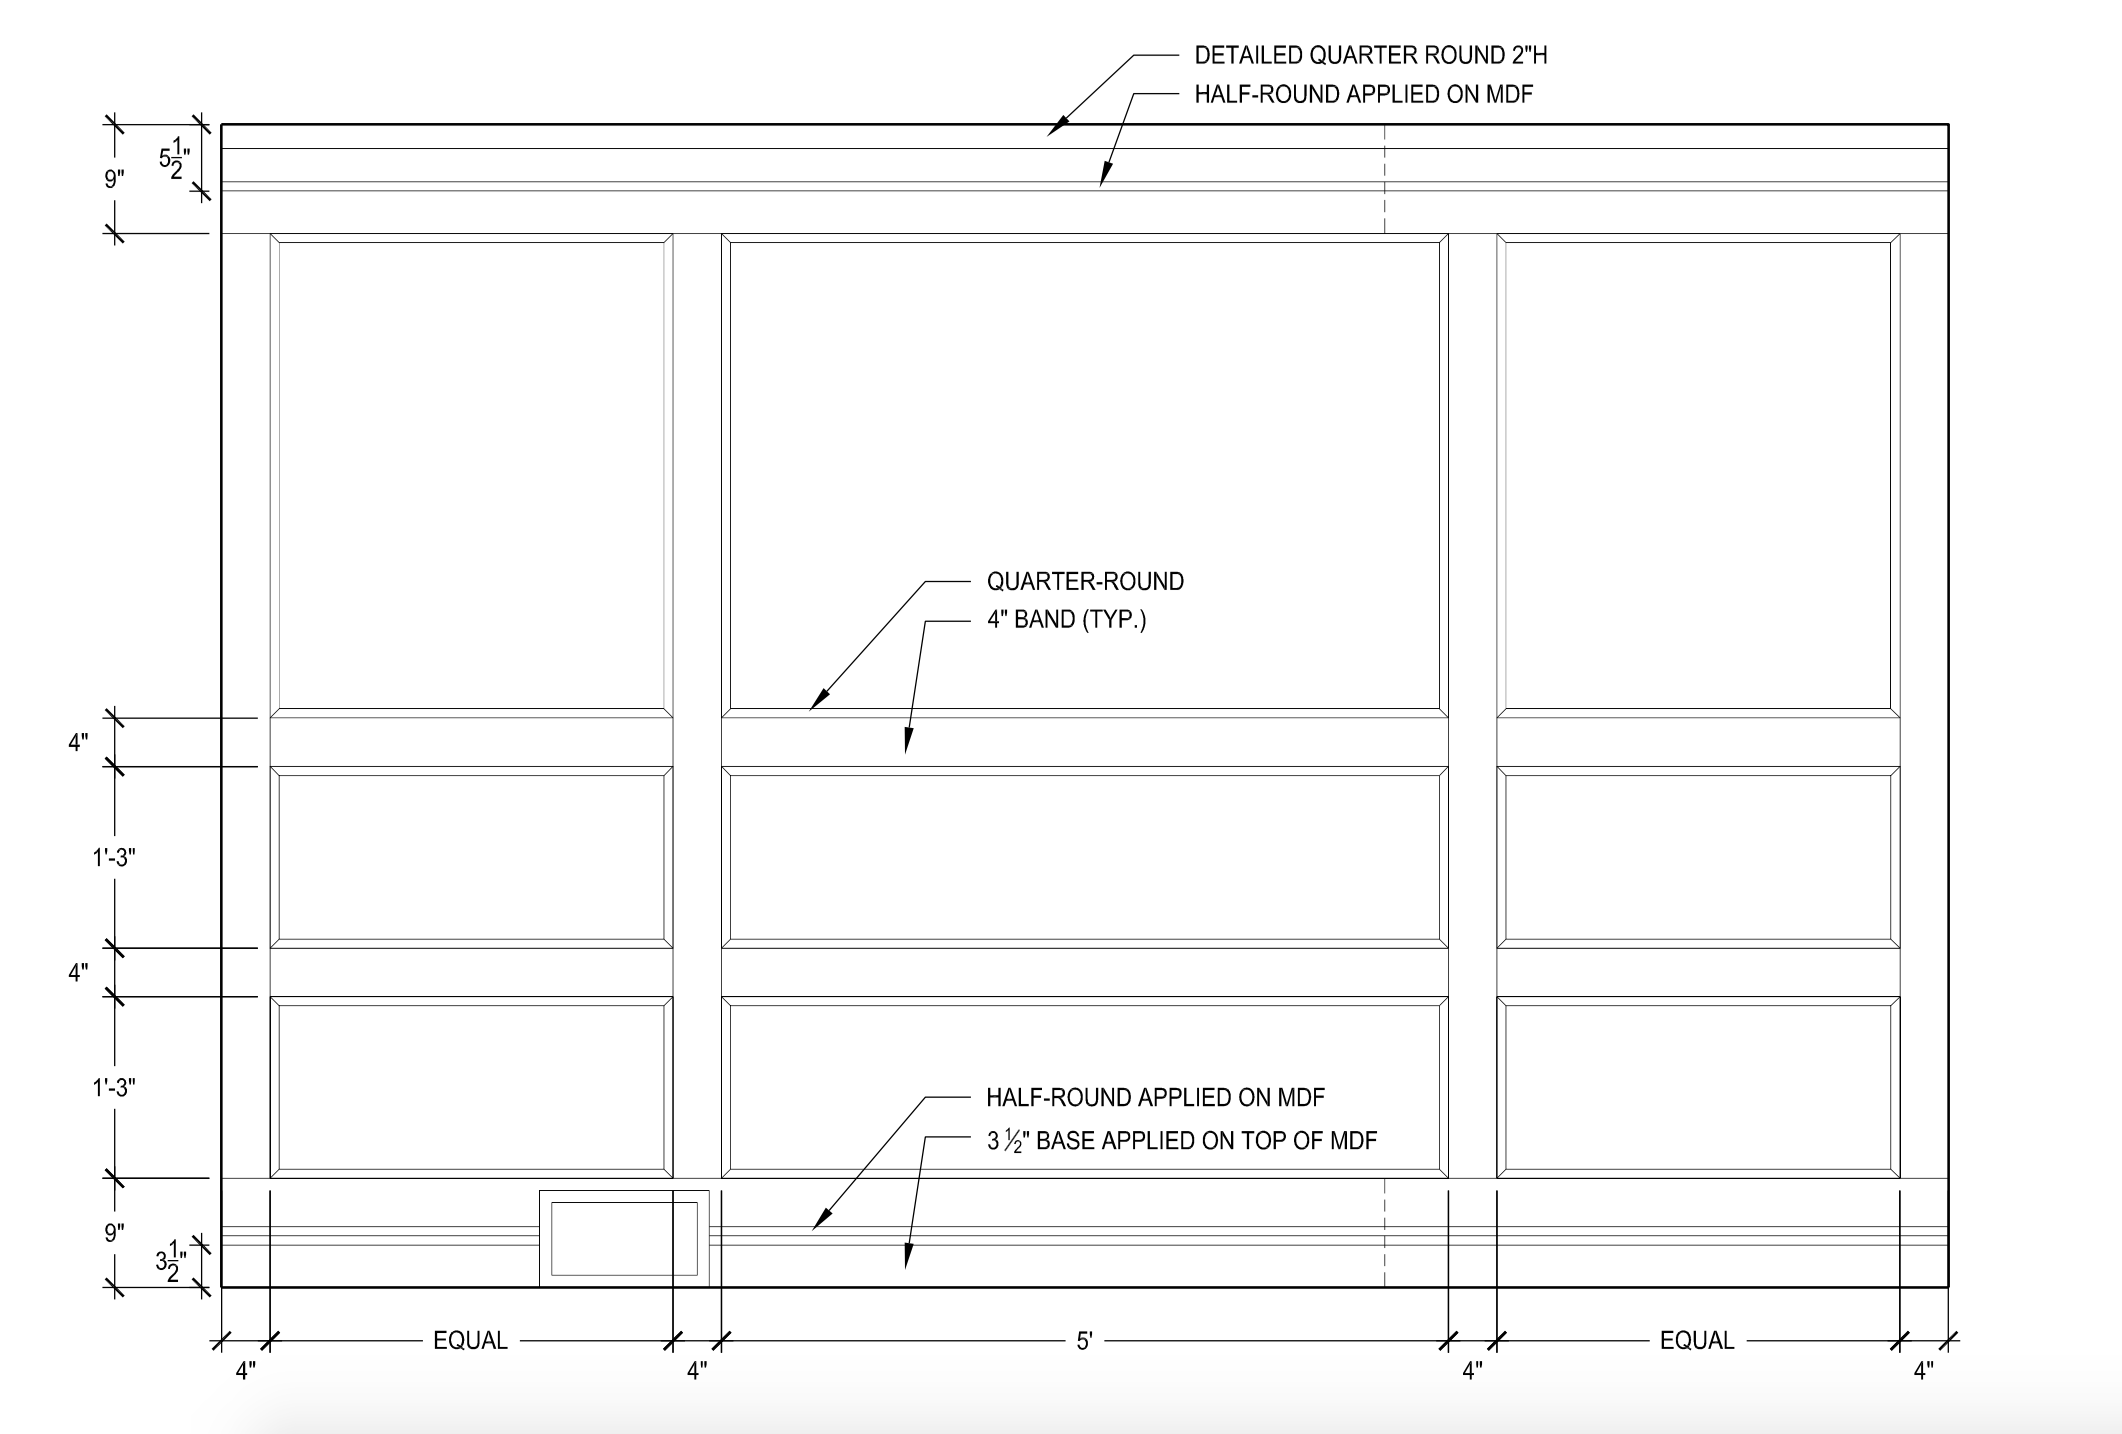
The only thing we ended up changing is that we opted not to do all the quarter round on the inside of the panels. Justin pointed out that it would look more clean and contemporary without it, and it saved us about $60.00. I think he just didn’t want to cut all those pieces, but lucky for him – I agreed with his thought process!
The total size of our wall was 11’-10-1/2” (this was lucky as we were able to purchase 12’ long pieces of trim and not have to do a seam).
Here’s a list of what we ended up purchasing
2-4’x8’ sheets of MDF (1/2 thick… ¾” thick seems too bulky in my opinion) 1-12’ long piece of chair rail molding (to go up by the ceiling instead of crown since it’s only on one wall) 3-8’ long pieces of half round (not available in 12’ long at Lowes) 1-12’ long piece of base trim Wood filler (paintable) Caulk… lots and lots of caulk Primer Paint Standard painting supplies
*Already owned: Nail gun, laser level, table saw

Despite owning a table saw, it’s still pretty hard to get straight 4” x 8’ long cuts. Those are really skinny, really long pieces and if your board wavers at all while feeding it through, boom. Crooked. So here’s the best thing you can take away from this post – HAVE THE HARDWARE STORE CUT IT FOR YOU! If you go to Home Depot, they will only do 2 cuts for free. I’m not sure how much they cost per cut after that, but it’s not a ton. BUT – if you go to Lowe’s, those guys will cut it up as much as you want!!
So, we took our 2 sheets of MDF over to the cutting station and had them cut three rows of 9” (for the top and the bottom) and seven 4” rows (for all the other 4” bands). This got us all of our long cuts, and then Justin could easily do the short cuts at home with the tools we have.
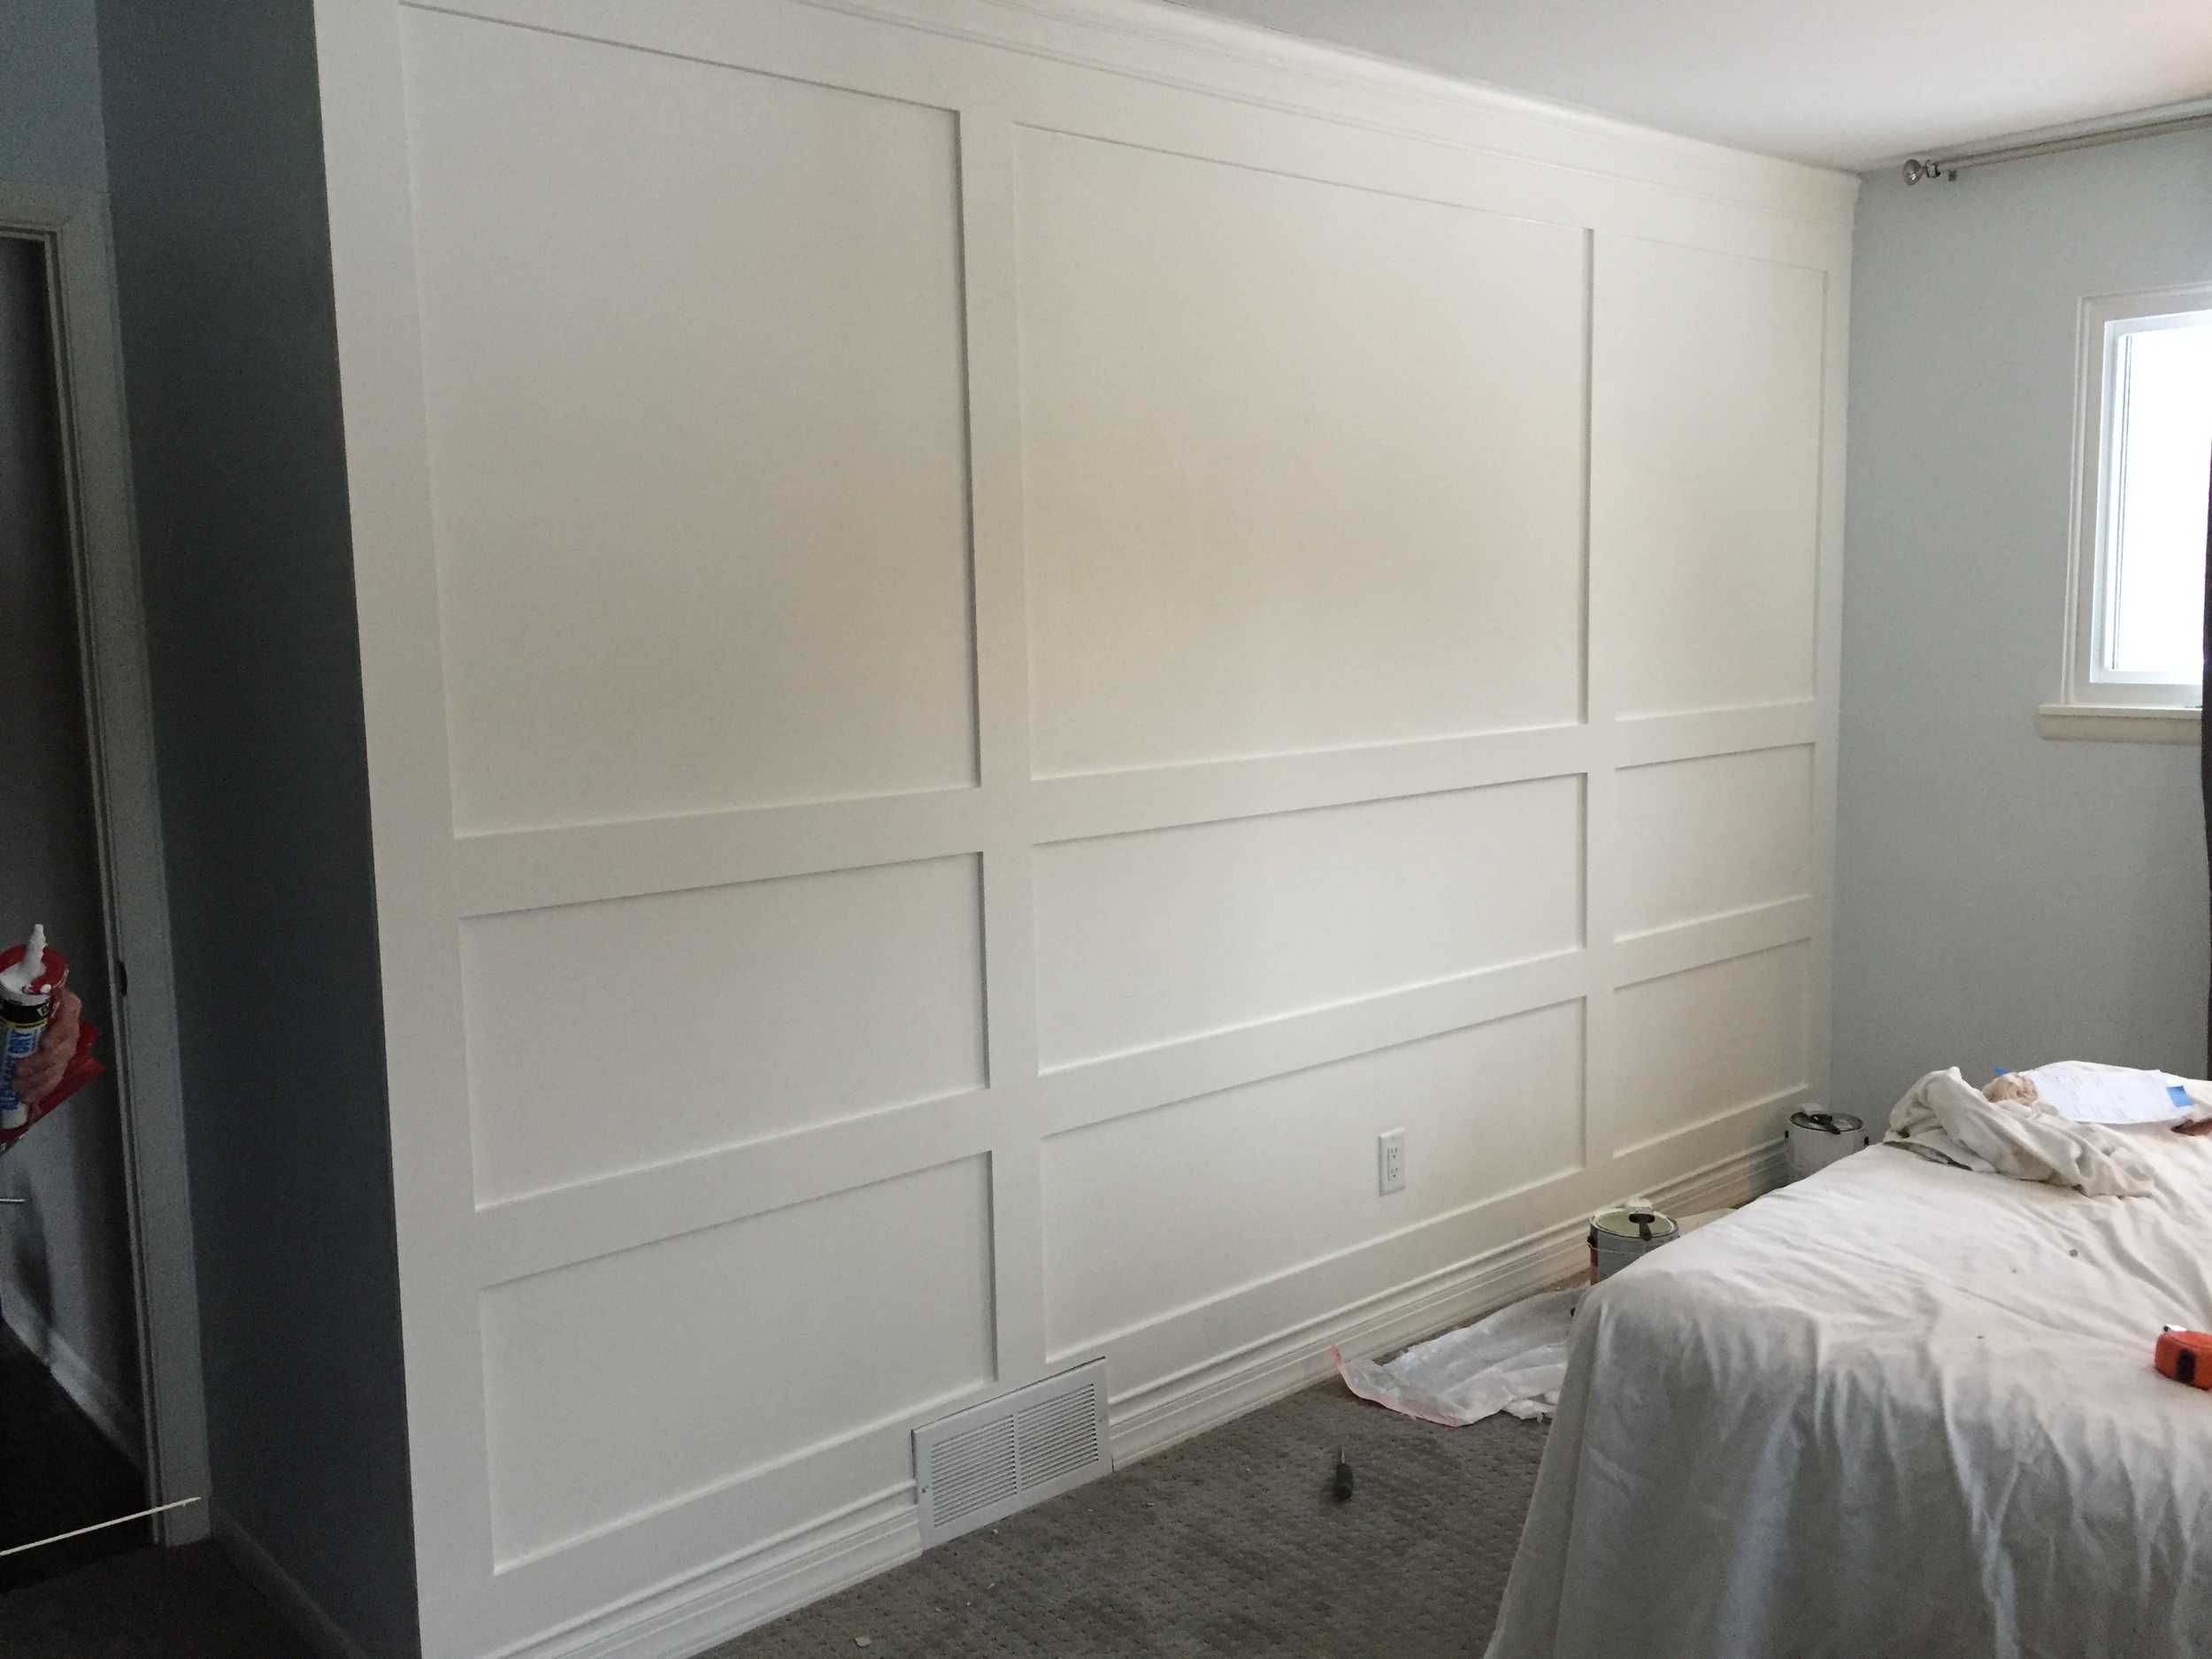
Once we got our wood home, Justin was able to start cutting pieces to length and hanging them using the handy dandy nail gun (totally worth the investment). You can see the panels start to come together below:


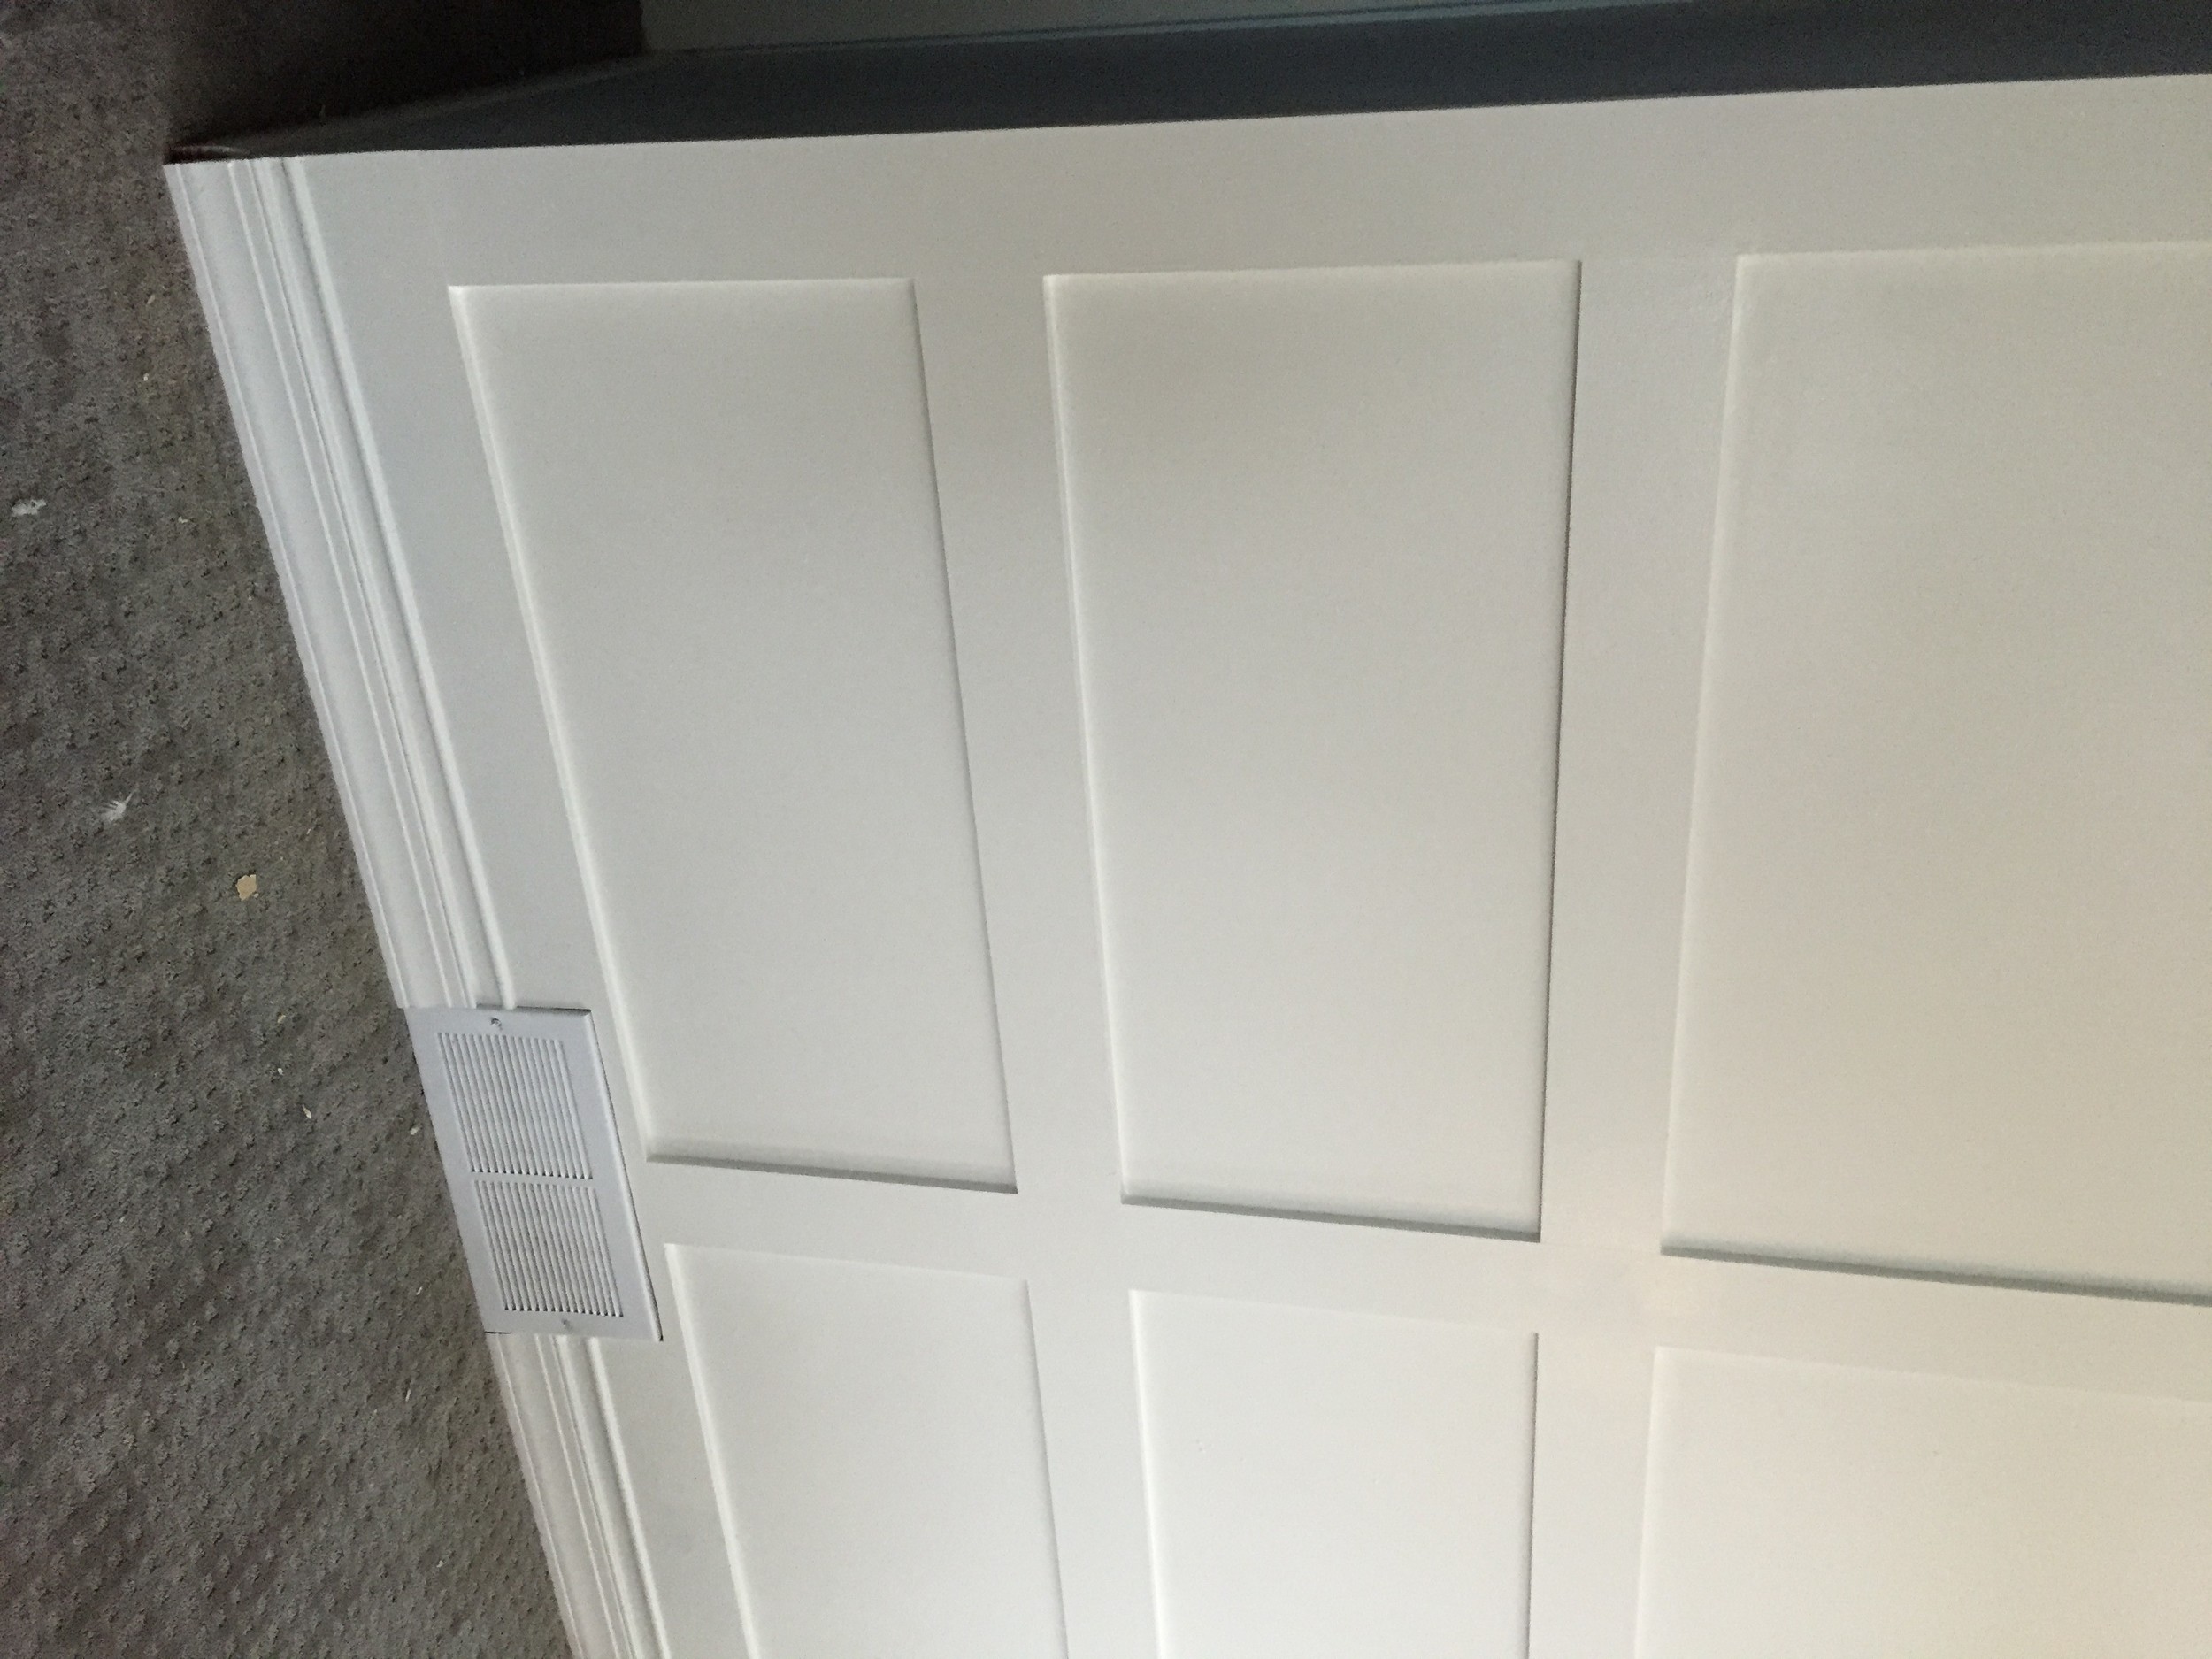
Then, Justin filled all the nail holes and seams with wood filler and all the cracks between the MDF and drywall with caulk. This is a very important step so in the end it looks like a solid wood wall, and not like you applied MDF to drywall. Truman helped… as you can see.

Once the caulk and filler were dry, we could sand it down, prime it, and paint it. It took 2 coats of primer and 2 coats of paint. I was surprised at how much paint we went through on one wall… more than ½ a gallon.


The end result is even better than I could have imagined. It’s perfect for our bright and sophisticated master suite.